A simple method to use your laptop as a Raspberry Pi display if you don't have an HD monitor.
A simple method to use your laptop as a Raspberry Pi display if you don't have an HD monitor.
Hardware tools:
- Raspberry Pi Board.
- 8 GB memory card.
- RJ 45 Connecting Lan wire.
- Power Cable. USB 2.0
- Laptop Display
Software tools:
NOOBS OS
SD card Formatter
Advance IP Scanner
32-disk-manager
VNC Server
How Does It Work?
To connect a Raspberry Pi to a laptop display, you can simply use an Ethernet cable. The Raspberry Pi’s desktop GUI (Graphical User Interface) can be viewed through the laptop display using a 100Mbps Ethernet connection between the two. There are many software programs available that can be establish a connection between a Raspberry Pi and your laptop. We used VNC server software to connect the raspberry Pi to our laptop.
Installing the VNC server on your raspberry Pi allows you to see the Raspberry Pi’s desktop remotely, using the mouse and keyboard as if you were sitting right in front of your Pi. It also means that you can put your Pi anywhere else in your home and still control it. Also, the internet can be shared from your laptop’s Wi-Fi over Ethernet. This also lets you access the internet on the Pi and connect it to your laptop display.
PROCESS:
Step I.
- Format SD Card using SD Card Formatter.
- Connect kit with power and connect Key board (if you need) and Ethernet cable connected with laptop.

Step II.
- Download NOOBS OS by Using Given Link:
Step III.
- Give Power supply to Raspberry Pi kit.
- Automatic it is booting and process going on according to your instructions.
- Finally Process finished and your OS is installed in your Kit.
Step IV.
- Now you need to update your Raspberry Pi OS:
- So firstly, you have to connect with internet.
- You need to sharing your Internet using Ethernet Cable:
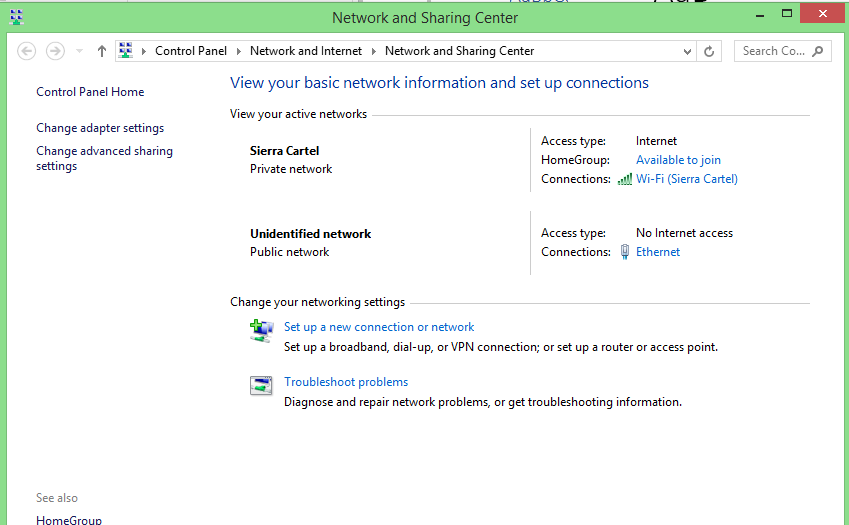
- Go to: Network and Open Network and sharing center:
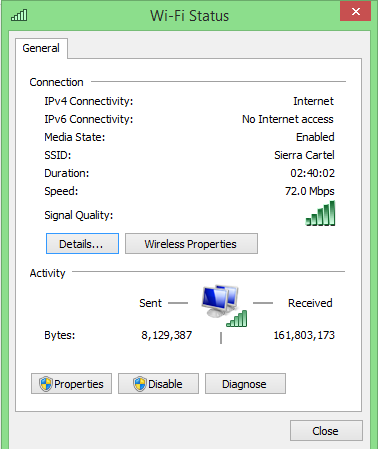
- Go to internet Wi-Fi (name of your Wi-Fi):
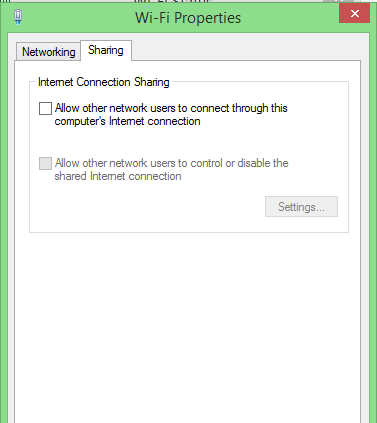
Go to Properties: Click on the Allow other network.
Step V.
- You want to work on your laptop then you have to add chrome extension VNC viewer.
- Advance IP Scanner: This is use for scanning your IP connected devices.

You can see in the screenshot Name, IP Manufacturer, MAC address.
Step VI.
When Extension added then go to apps and open:

Connect to the server using your Raspberry Pi Kit IP.
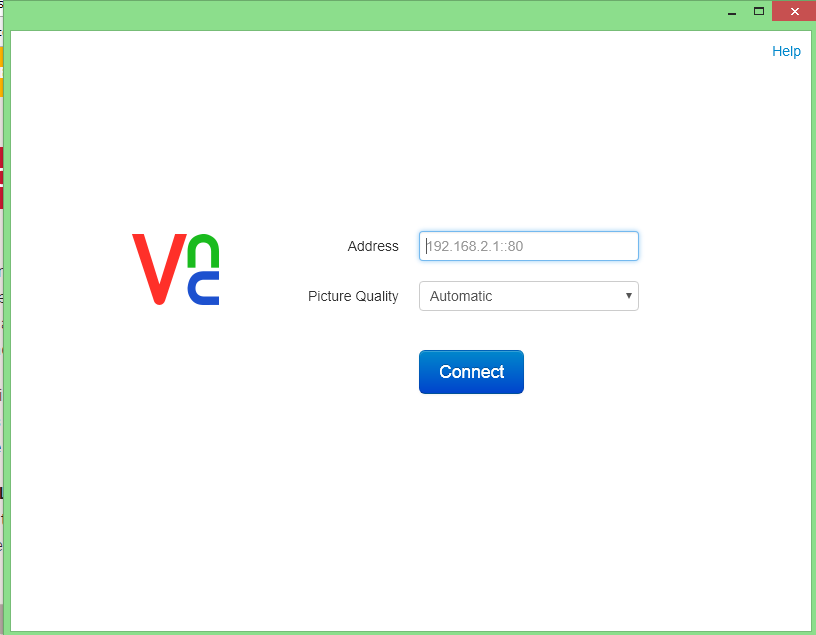
Give the Password it is by default: raspberry

Now your kit is connected with Ethernet.
Now you can use this stuff in command Prompt.
So, you can use this command:
>>sudo apt-get update
>>sudo apt-get upgrade

It will take some time and you are ready to work on your Platform.
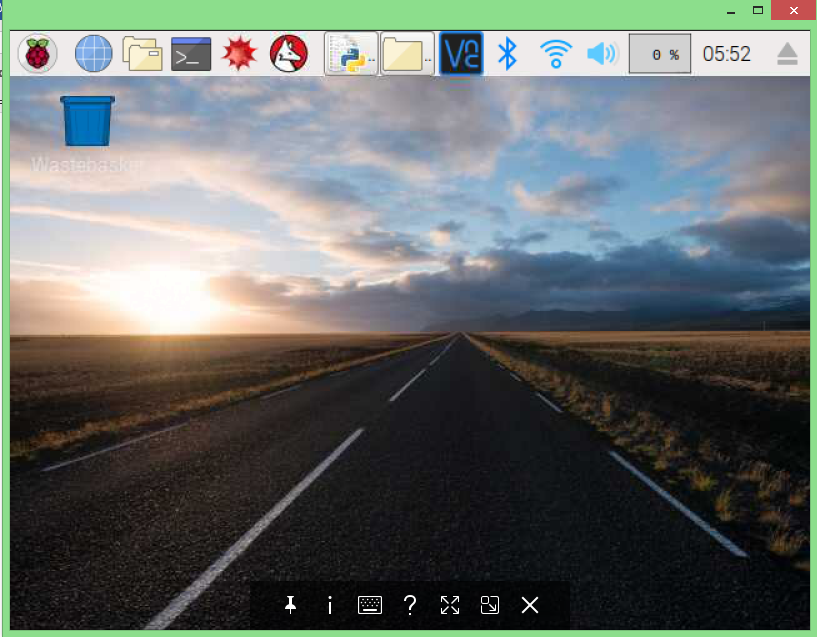
Your Screen is look like this.
Now you can start your project:

Comments
Post a Comment